
IVR stands for Interactive Voice Response. The IVR booking feature allows passengers to call a number to automatically place their booking without the intervention of a human dispatcher.
Configure the Language
- Go to Settings > IVR to configure this feature.
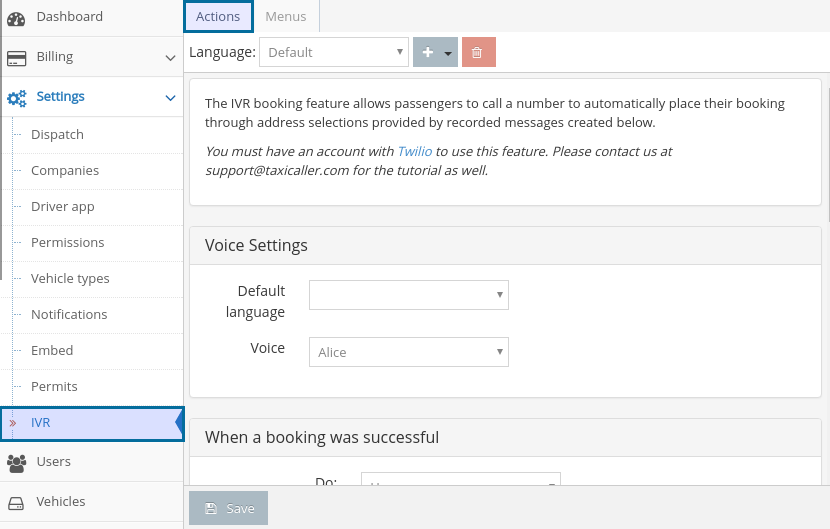
- The first thing to configure is the Language of the voice response. You can either select it at the top, or leave it as Default and select that Default language below under Voice Settings
- Select the voice between Alice, or a generic Man and Woman.
Configure the Actions
- Configure the actions based on your preference. Placeholders such as [pickup] and [eta] will be replaced with the real value when read out.

- Don’t forget to click on Save once you’re done.
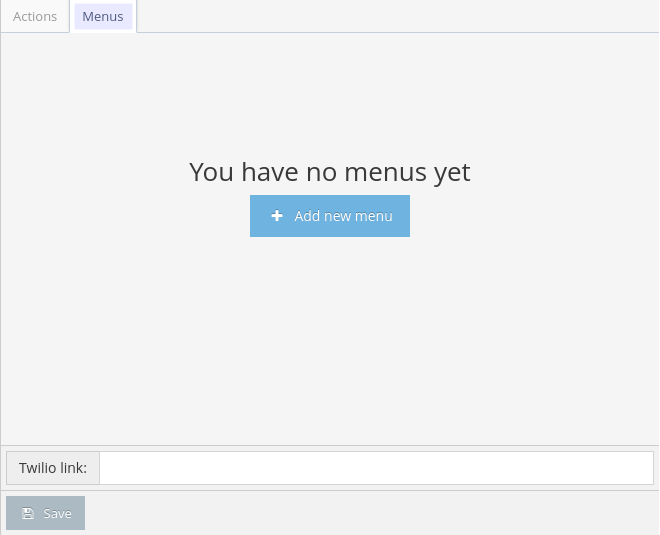
Configure the Menus
- Select the Menu tab and click on Add new menu
- Give your menu a name and click on Create
- In here you can once again select the desired language and voice.
- Add a greeting which will be said before listing the options.
- You can add up to 10 menu options, that would go from 0 to 9 in the keypad. To add each additional option, click on Add keypad option.
- Configure the Default Action to know what to say if a customer presses an invalid key.

As an example, you could configure the number 1 in the menu to make a booking to the customer’s home. You can then associate this number to a stored location which will be taken from the Customers Saved Places, for example their Home. This information will be taken from your customer account as configured through the dispatch console.
Verify your settings
Once you have these instructions, including the set up of the Twilio account, you can verify that it works by calling the number provided by Twilio.
Use the keypad to navigate the options presented by the IVR and see how they interact with the system to test your IVR set up. Call from a known phone number, or attach the phone number that you’re testing with a customer account in the dispatch console. Ensure that the IVR recognizes you based on the information on that customer account.