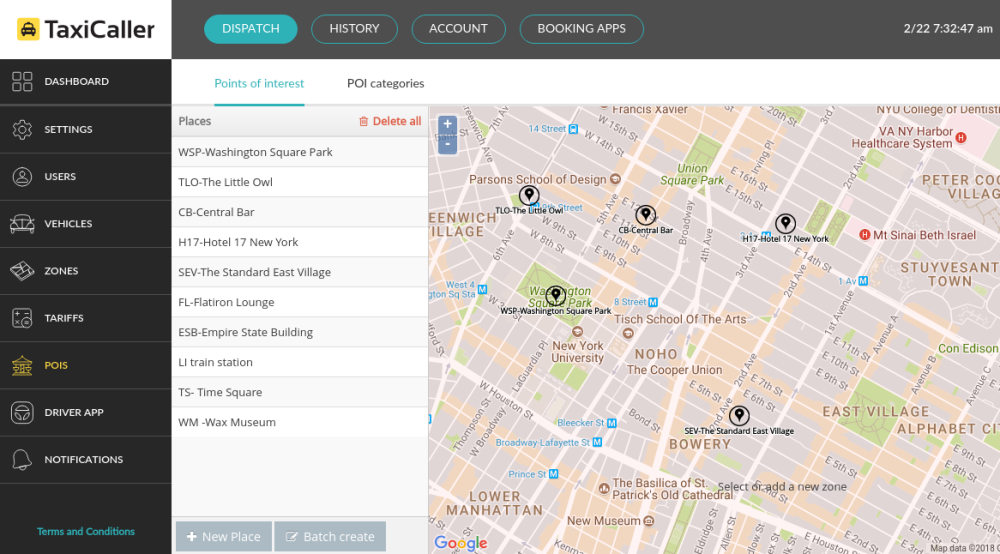
This feature allows you to add points on the map for places that aren’t indexed by Google Maps or simply to speed up the booking process. Dispatchers only need to start typing the name of the POIs in the pick up or drop off address bars for them to be selectable.

This article describes how to create POIs. For their usage in the Dispatch Console, check the following article: Using Points of Interest
Create POIs.
To create the POIs for your company, please scroll down the main menu on the left side of the Admin Panel until you find the option POIs. Alternatively, you can visit the following link to do so: Points of interest
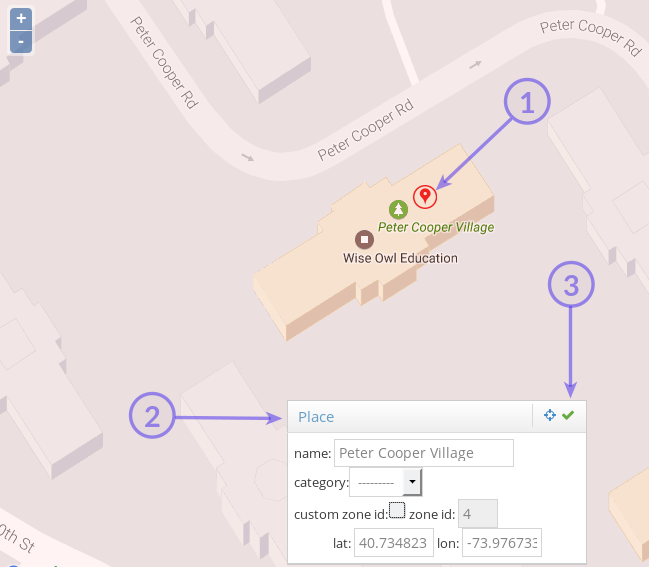
Click on the + New Place button at the bottom of the screen. A small window will appear in the middle of the map, along with a red mark that you can move to the location you want to make into a POI.
1. Move the red mark to the desired place. Alternatively, change the coordinates directly into the dialog window.
2. Give it a name. If you have added categories for your POIs (explained below), you can apply the category to your POI now.
3. Click on the green checkmark to save.


